One of the more common phrases that even non-pool owners may know is “shocking your pool.” This involves increasing the chlorine levels (FC) of your pool to eliminate any contaminates or organic bacteria living in the pool water.
Shocking is a process, not a one time chlorine dump. This is why the SLAM method works to get your pool back to swimming shape.
What is the SLAM Method?
SLAM stands for Shock Level And Maintain. It was coined by TroubleFreePool as a way to help users eliminate algae and bad contaminants in the pool.
You shock the pool and maintain that level until your water is clear of contaminants and you’ve hit a set of end goals.
It can take several days to complete depending on how bad the pool is overrun with algae.
When to Shock Your Pool
This may contradict what you read regarding pool shock, but it shouldn’t be a process in your weekly pool maintenance schedule.
If you have been diligent in pool maintenance and testing reveals all chemical levels are well balanced and clear of organics, why would you waste resources to shock your pool?
The process is only necessary if you visibly see algae growing, testing reveals a water issue with combined chlorine above 0.5, or an unforeseen event in your pool that requires extra sanitation. Specifically:
- Squirrels, rodents, or any wild animal that drowned in the pool
- Poop in the pool
Even after a big pool party with lots of water displacement and oils in the water, shocking shouldn’t be necessary. You’ll definitely need to add chlorine, but not at the shock levels!
Ultimately, the goal is never to have to shock your pool.
Preparing for the SLAM Process
To start and complete the SLAM process, you will need:
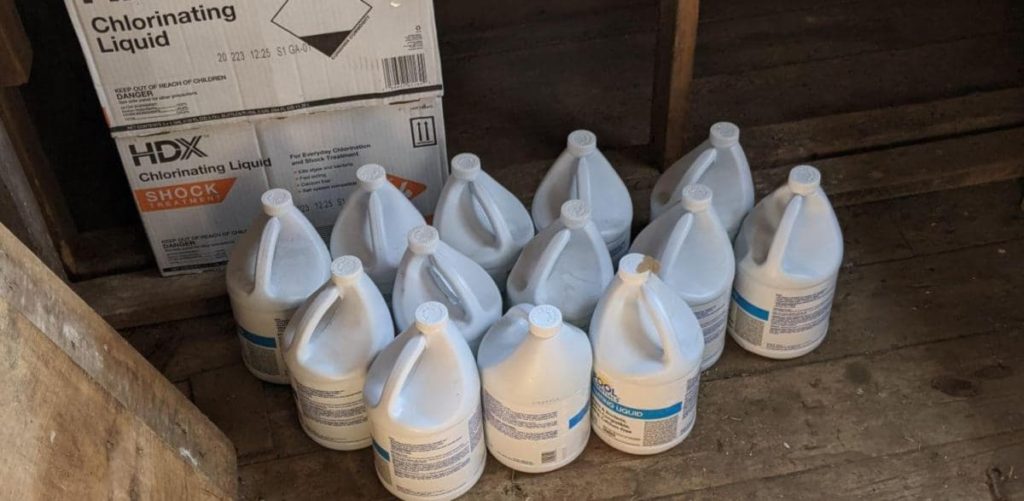
- Chlorine, chlorine, and chlorine (liquid chlorine is highly recommended)
- A reliable testing kit
- Pool cleaning tools (brush, skimmer net, pool pole, vacuum, etc)
You will need a lot of chlorine. We are talking 15-20+ gallons to be on the safe side. Liquid chlorine or bleach is highly recommended as it works fast and doesn’t add anything else to the water.
Calcium hypochlorite (cal-hypo) is a good substitute. As a matter of fact, if you buy”pool shock” in stores, it’s typically just cal-hypo. Do note that cal-hypo will also increase your calcium hardness (CH) levels.
Trichlor pucks are not recommended as they do not work as quickly as we want, and the pucks will increase your CYA over time. To be honest, using trichlor most likely got you into this mess in the first place!
Test The Water & Know Your CYA Level
You may see general recommendations to dump a pound of “shock” per 10,000 gallons of water and call it a day. However, that doesn’t make sense without knowing how much stabilizer is in the pool.
You may not need that much. On the other hand, you may need way more than that!
CYA will dictate how much chlorine is used to get the appropriate level of free chlorine (FC). Use an accurate water testing kit to check the current chemistry readings.

The most accurate and reliable pool testing kit.
Type of Chlorine Test: FAS-DPD
Read our full Taylor K-2006 Review.
Your CYA level should be between 30 – 60 ppm. If it’s too high, you are going to need an extraordinary amount of chlorine.
If it’s too low, add some CYA to get in range. If it’s too high, it is highly recommended to drain and refill with fresh water to bring it down to at least 60 ppm.
Adjust your pH if Necessary
Since you are adding a large amount of chlorine to the pool, lower your pH to about 7.2 – 7.4.
pH testing is largely unreliable when FC gets above 10. Shocking can take a few days to complete, so it is recommended to keep it at the lower end.
Clean the Pool of Debris if Necessary
Make sure to clean out any leaves and visible debris. It should be as clean as possible so the chlorine can focus on the algae and bad contaminants that is forming in the water.
Performing a SLAM to Shock Your Pool. Follow These Steps
Once the pool is clean and your pH is good to go, it’s to get SLAMming. As mentioned before, this process can take several days, so patience and a positive attitude will be your best friends!
Step 1: Add Chlorine based on your CYA Level
As stated above, your CYA level determines how much chlorine to add.
According to Richard Falk, an approximate shocking range for your free chlorine levels is about 40% of your CYA, which would be the following:
| CYA (Stabilizer) in ppm | FC to Shock Level in ppm |
|---|---|
| 20 | 8 |
| 30 | 12 |
| 40 | 16 |
| 50 | 20 |
| 60 | 24 |
| 70 | 28 |
| 80 | 32 |
| 90 | 36 |
| 100 | 40 |
Want to make it easier? Use our pool shock calculator to know exactly how much chlorine you need based on your shock level.
This is why CYA should be within a reasonable range, otherwise you are going to need to maintain FC at some pretty unreasonable levels.
Step 2: Continue Testing and Adding Chlorine If Necessary
This is more of an ongoing process. You’ll want to maintain that chlorine shock level throughout the duration of a SLAM.
Chlorine dropping to lower levels before the water issue has been resolved can run the risk of potentially having to restart.
Test 3-4 times a day and add chlorine as needed. If you notice chlorine getting used up faster than normal, consider testing every 2-3 hours to stay on top of FC levels
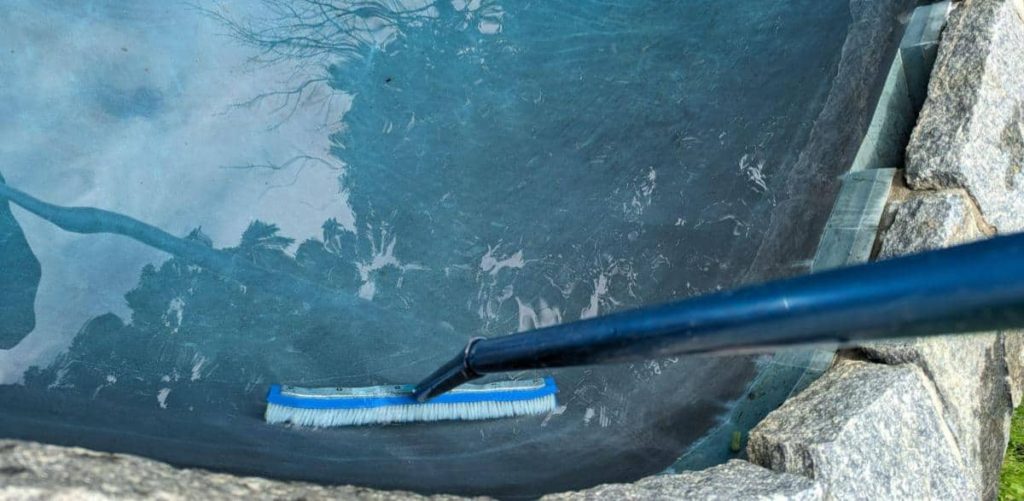
Step 3: Brush the Pool and Clean Filters as Needed
During the process, remnants of dead algae and organics may float in the pool. Continuously brush and vacuum the organics into the filter.
Depending on how much is in the pool, the filter may need to be backwashed or the grids cleaned. This is a good sign that the filter is catching all that bad stuff.
Step 4: Repeat Steps 1 – 3 Until You Start to See Progress
Keep testing, adding chlorine, and brushing / vacuuming until you start to see some noticeable progress in the water. This can be a color change, less cloudy, or dropping CC levels.
Remember, maintaining the FC levels is critical for it to eliminate the water issue.
When is the Shock Process Complete?
There are three criteria to know if you have completed the process:
- The water is crystal clear, with no visible signs of algae or organics in the pool.
- Testing reveals combined chlorine (CC) is 0.5 or lower. This will tell us if chlorine is still fighting something in the water.
- FC levels are maintained overnight, dropping less than 1 ppm.
Step 3 shows us if contaminants are still eating up chlorine in the pool. Chlorine is consumed by two things: organic compounds and sunlight. Running this test overnight eliminates the sun as a factor of FC loss. This is known as the overnight chlorine loss test (OCLT).
The test is pretty straightforward:
- Record your FC levels when the sun goes down.
- Next, record FC again before the sun comes up.
- A SLAM is complete if FC drops less than 1 ppm.
If it is greater than 1 ppm, then, unfortunately, you still have something in your pool and the fight continues.
Hopefully, Shocking is One and Done!
The process may seem long and tedious, and it can take many days to complete. However, once it is done, make sure it never needs to be done again.
Keep testing, and keep your water balanced, and enjoy the pool!