The longevity of your above-ground pool is determined entirely by what is seated underneath it.
A pool that is off-level by even two inches is a significant structural hazard that puts thousands of pounds of uneven pressure on the wall.
Following a professional preparation process ensures your pool stays level for years to come, rather than just a single season.
Choosing the Right Location
Before you pick up a shovel, you must find the right area for the pool.
First, call 811 to have your underground utility lines marked, as you must never build over gas, water, or electrical lines. Also, try to avoid placing the pool under power lines or overhanging trees that will drop debris and roots into the water.
Choose a spot that gets good sunlight throughout the day and that is a big enough area for natural drainage.
Once chosen, drive a stake into the exact center of the area. Attach a string measured to half the diameter of your pool plus an extra foot to account for the landscaping “clear zone,” and walk in a circle with spray paint to mark your work perimeter.
Clearing the Area and Site
You must remove all grass and organic material within your marked circle to prevent long-term damage to the structure.
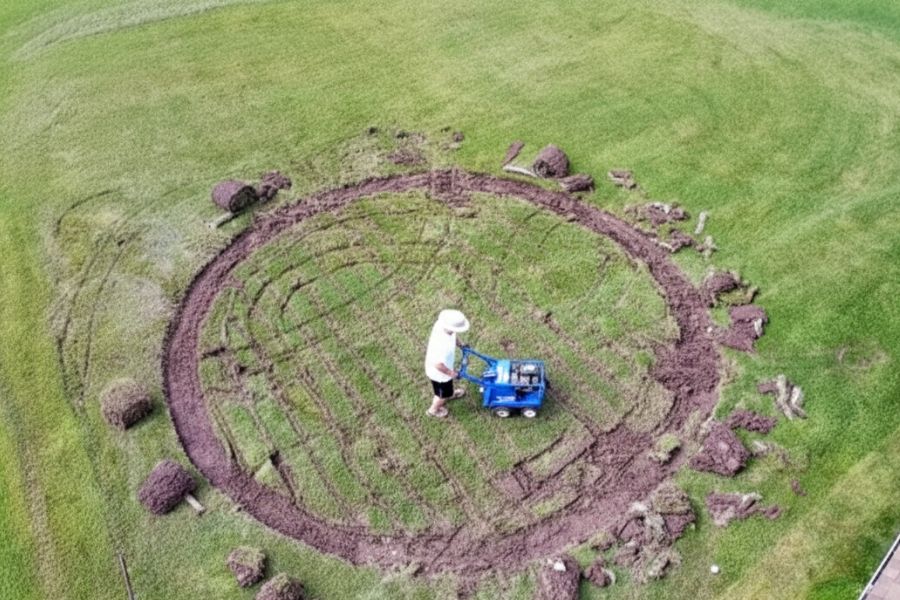
Depending on what base you choose will determine how many inches you need to actually dig out.
After the sod is gone, perform a thorough sweep for rocks and roots. Even a small pebble or a stray root can eventually puncture a vinyl liner under the immense pressure of the water.
If you think you’ve got everything, check again!
Level Ground, Install Patio Blocks, and Compact Soil
This is the most critical stage of the entire build. If the ground is more than 1 or 2 inches off on one side when the pool is filled, it is far more susceptible to collapsing and causing property damage.
When leveling the site, always find the lowest point in your circle and dig the rest of the site down to that level. You don’t want to add dirt to a low spot.
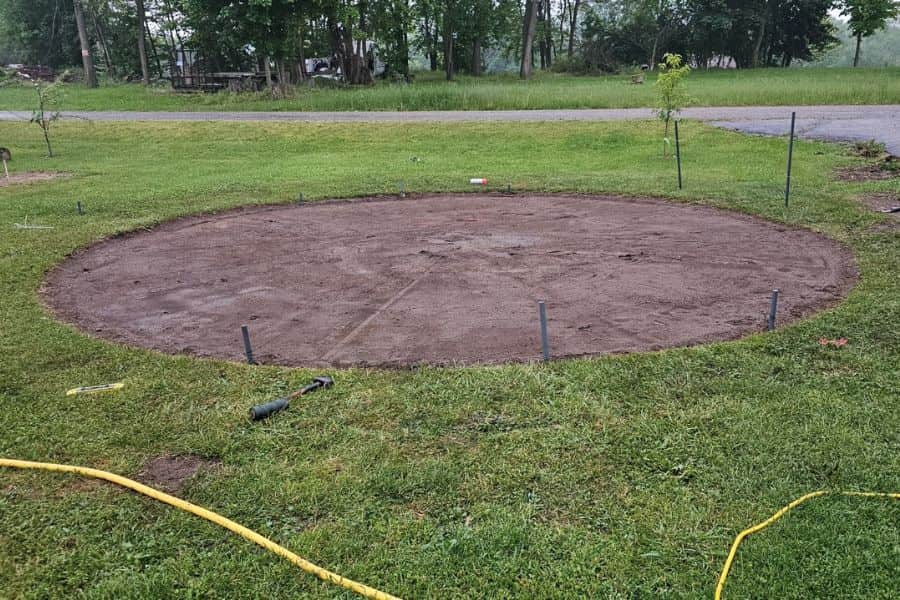
As part of this leveling process, you should install 2″ x 8″ x 16″ patio blocks or pavers at every point where a pool upright will sit. These blocks must be recessed into the dirt so that the top of the block is perfectly flush with your leveled earth. If a block sits even a half-inch high, your bottom track will not sit flat, leading to structural stress.
Use a transit level, a laser level, or a straight 2×4 with a carpenter’s level to ensure the entire site is flat. Once the area is level, use a plate compactor (or hand tamper if you are feeling good!) to ensure the undisturbed soil is rock-solid and will not shift once the pool is filled.
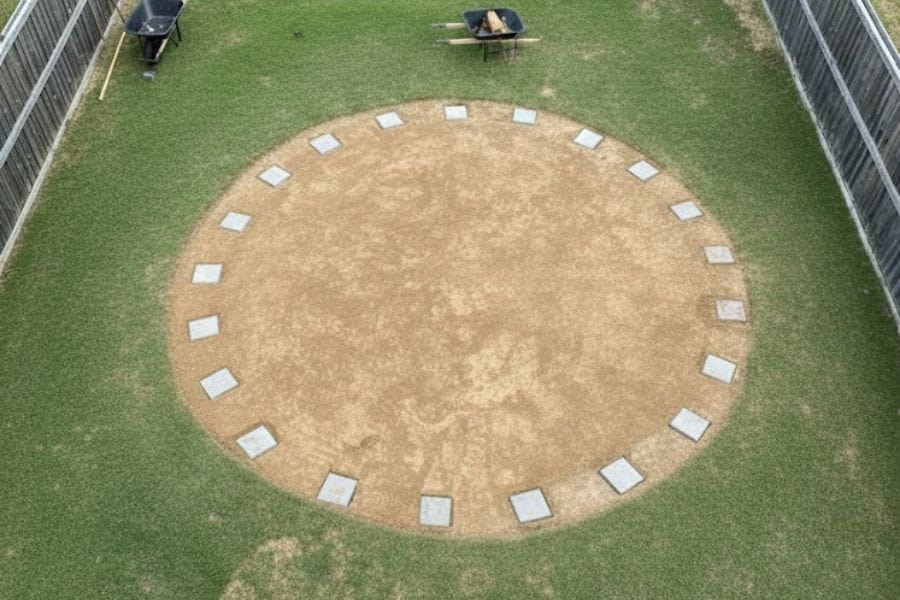
Adding the Base and Liner Pads
Once the raw earth is level, you need a “floor” to protect the liner from the ground. Technically, you can sit it directly on leveled soil, but this isn’t recommended as erosion can happen fairly quick.
Masonry sand is the most common choice, as its relatively inexpensive and provides a soft cushion for swimmers’ feet. If not compacted correctly however, it can shift over time.
For a more rigid and permanent foundation, some installers opt for stone dust or finely crushed stone. While it offers more stability, it is significantly more difficult to smooth out perfectly.
Some owners choose to install their pool on a concrete pad or a large area of pavers.
Your specific pool might require a certain base to keep the warranty in place, so always check the manual or specific guidelines
For the best results, it’s recommended to place a pre-cut felt or foam liner pad, such as “Happy Bottom,” on top of the sand. These pads provide a secondary barrier against rocks and insects while preventing “footprints” from forming in the sand floor over time.
Final Level Check
Before the first gallon of water goes in, you must perform a final structural sweep. Ensure the patio blocks under your upright points are recessed and perfectly flush with your leveled earth.
Use your level one last time across these blocks because if the foundation is off now, the pool will remain off-level permanently.
Time For Installation!
With a level, compacted, and padded foundation, you are finally ready to unroll the walls. The hard part is done, but it will be well worth it when your pool last for years on end.
It’s almost time to enjoy that water!