The snow has melted, the sun is out, and that giant blue circle in your backyard is calling your name. It’s time to take that unsightly cover off and open your above-ground pool!
Take note of when to open so you have a better idea of timing.
Typically, a good time to open is when daytime air is consistently around 70°F and water is at or below 60°F. Earlier is usually better!
Chemicals and Equipment Needed
Ditch the pool start-up kits and get only what you actually need! These are marketing nonsense by pool stores and a waste of money.
Instead, theses recommended chemicals is all you really need:
- Chlorine – Preferably liquid chlorine
- Muriatic Acid to lower pH
- Borax to raise pH if necessary
- Calcium chloride to raise calcium hardness (CH) if necessary
- Baking soda to raise total alkalinity (TA) if necessary
- CYA stabilizer to raise cyanuric acid (CYA) if necessary
In terms of equipment, you’re going to need the basic cleaning accessories (or a robot) as well as a way to get water off of the cover if necessary:
- Telescopic pool pole
- Pool brush
- Skimmer net
- Vacuum hose
- Vacuum head
- Submersible pump
- Basic tools like screwdrivers (if necessary)
Steps to Opening Your Above-Ground Pool
Examine the pool area a couple of days before your opening to identify any initial winter damage or wear and tear.
Make sure your pump and filter are free of damage and the O-rings are still good and lubed up.
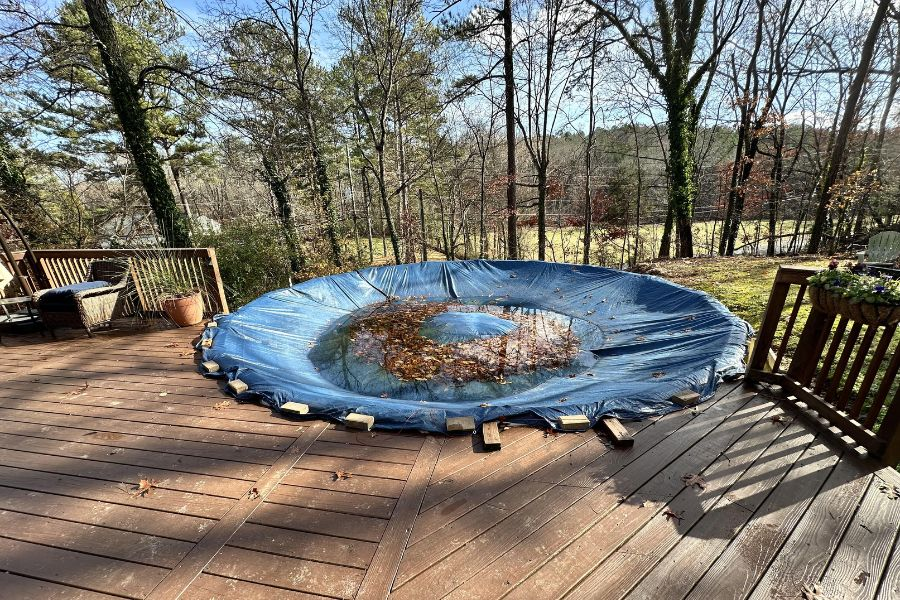
1. Remove and Store the Winter Cover and Pillow
It will be completely normal for the pool cover to look a little messy. Over the winter, a mixture of leaves, dirt and stagnant rain water can accumulate.
- Remove any standing water with a submersible pump and brush off and remove any leaves, sticks, and other debris from the cover.
- Slowly remove the cover and set it in the yard or driveway. Hose it down to remove any remaining dirt
- Now would be a good time to check and repair any holes or rips. Once dry, fold it up and store it, preferably where rodents can’t make it a home!
- If you have any winter pillows, deflate them and store with the covers.
2. Fill up the Pool If Necessary
- If needed, fill the pool with a hose until it reaches your targeted waterline, which is usually halfway up your pool’s skimmer.
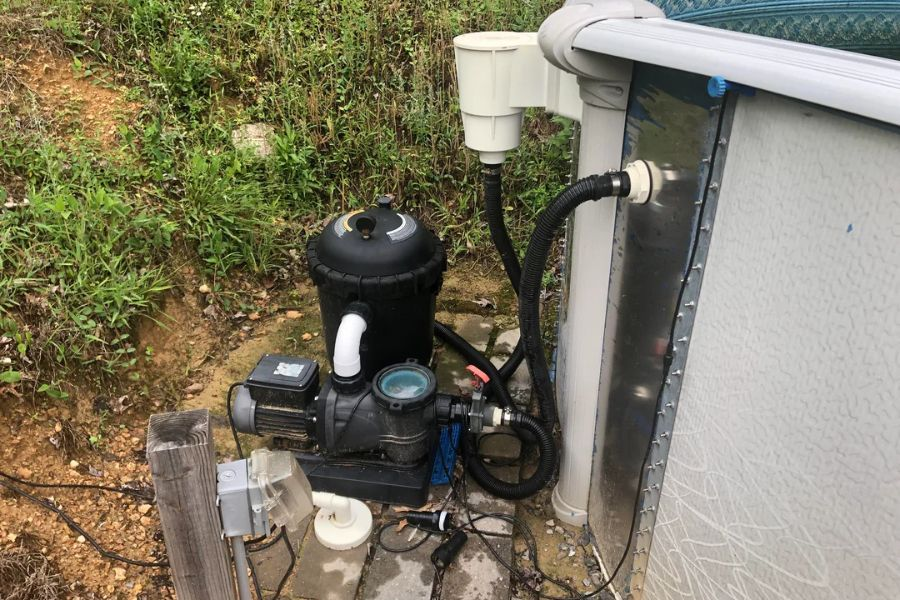
3. Connect the Pool Equipment and Accessories
- Reattach the filter and pump system hoses that connect to the pool skimmer and returns. Reinstall the pump drain plugs, filter sight glass, and pressure gauge.
- Remove all winterizing plugs from the skimmer and/or wall returns if you have them.
- Install the return eyeball fittings, skimmer basket, thermometer, and pool ladder or step system.
4. Turn On The Pump
- If your filter has an air relief valve, make sure it is open to start.
- Prime the pump if necessary.
- Tip: To prime a pump, shut off the system, open the pump lid and add water with a garden hose. Close the lid and start it up.
- Turn on the pump and close the relief valve once water starts to spill out.
- If you have a diatomaceous earth (DE) filter, now is a good time to add DE powder through the skimmer
5. Skim, Brush, and Vacuum The Pool
A manual pool cleaning will be better initially to remove all the leaves and bigger debris. If you have a robot, put it in after the initial clean!
- Use your skimmer net and telescopic pole to skim the pool surface and floor to remove the larger debris.
- Attach the brush and scrub the walls, floor, and steps.
- Attach the pool vacuum head to the pole and the hose to your skimmer basket. Make sure you vacuum the entire floor nice and slow!
- If your filter is starting to get full, now would be a good time to clean or backwash it.
- Tip: Steps to backwash sand and DE filters.
6. Test and Balance The Water
Ditch the strips and use an accurate testing kit at least for the first few times. You need a reliable reading to know exactly what is going on with the water.
- Run a full set of tests with your testing kit.
- Use our pool chemistry calculator for chemical recommendations if necessary.
- When adding multiple chemicals, wait 10-20 minutes each addition.
- Test and adjust until you have water balance.
- There is no need to shock the pool unless your testing shows you something is wrong!

Check and Test Your Water for a Few Days
Your pool is now officially open! For the next day or so, keep the pump running for continuous water flow. Let the filter do its thing and catch the remaining debris that might have been missed during cleaning
Continue to test. If your testing shows a water issue that needs fixed, be sure to address it right away.
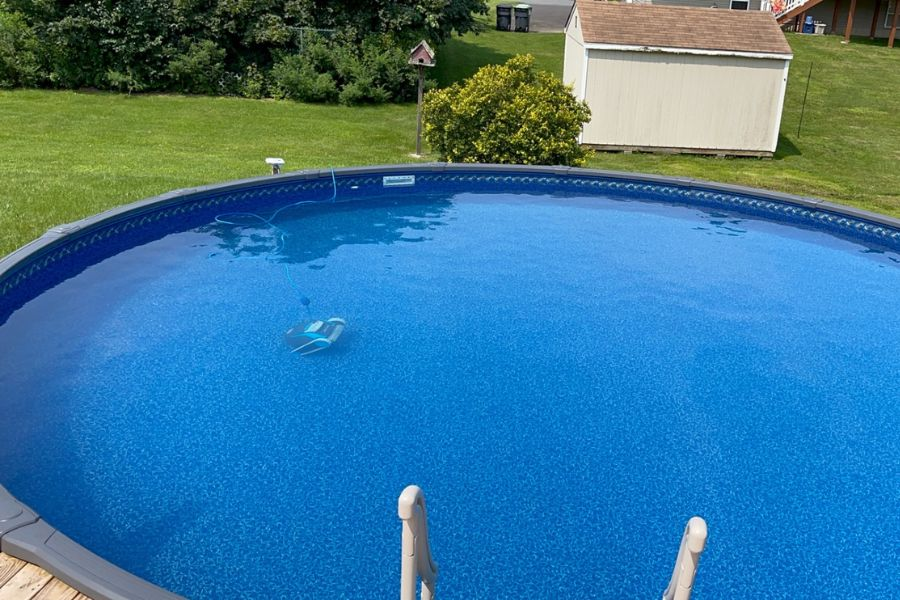
Enjoy the Swim Season!
Keep testing, maintain the water balance, and make some lasting memories this pool season!